Link To Me!


& for my CT Ladies

CU Licenses


I CT For


My CT Team


Forums I LOVE


Tut Writers Inc

Networked Blog
Wednesday, March 30, 2011
Easter Scrap Kit Freebie
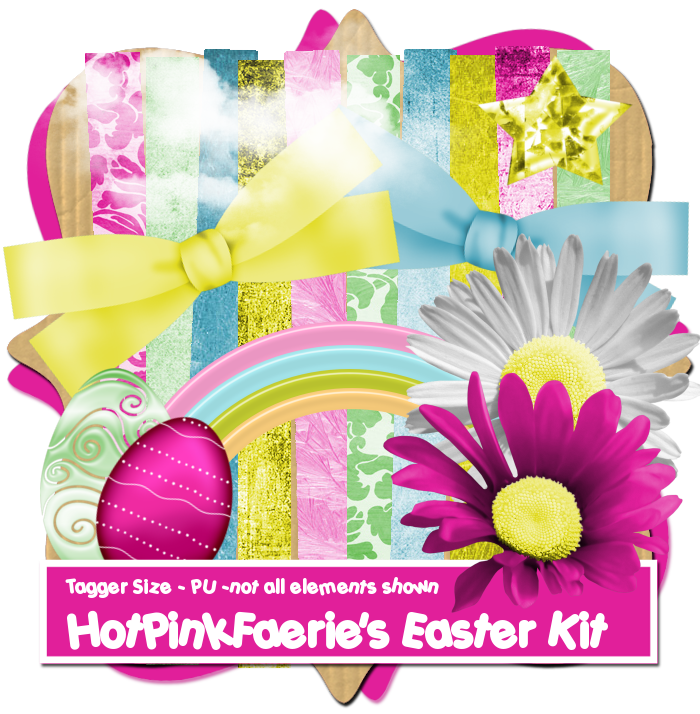
you can only get this kit if you are a member of Pandora's Box

click to join!
Sunday, March 27, 2011
adding premade animations to tags
this is the tag we are going to make

supplies:
Gimp
texture or paper of choice
texture or paper of choice
tube of choice
animation of choice
lets get started:
make your tag the way you want it and merge down all layers
add the name at the end if you want to offer it

open your animation as a new layer

move each layer of the animation where you want to place it, being careful that all layers are lined up correctly


duplicate your tag layer for each frame of your animation and move each one below an animation frame

merge each animation layer down to your tag layer

now on your top layer make your text and text border and merge them down

duplicate this as many times as you have a tag layer and merge each one down separately


save as .gif & remember to click save as animation

& tada! you are done!
Friday, March 11, 2011
Winking Sig Tutorial
this is a pretty simple animation in gimp. you just gotta remember to merge the proper frames and save as animation.

click to see animation
supplies needed:
GiMP
& Tube of choice. i am using one of Ismael Rac's fabulous tubes. do not use without a license! you can obtain one from his store here: www.xeracx.net
to get started open up a new canvas 600x250 whatever color doesnt matter
fill the background with a gradient of choice
now open up your tube and position it where desired

now duplicate your tube layer 2x
zoom in like 400%

close out the top layer
grab a color from above the eye, like the eyeshadow and use your small circle brush tool to fill in half of the eye on your second layer

now open up the top layer and have it selected and fill in the entire eye

now duplicate your second tube layer and move it to the top of your layers
merge down only the bottom tube layer to your background

check in playback to make sure it is animating correctly
now you will want to add a border, cus everything looks better with a border, lol
add a new layer, black or whatever color you wish

go to select by color

click somewhere on this new layer
go to select again and shrink selection

shrink by 5 or whatever you think looks good and cut

duplicate your new border layer 3x and move each one above your existing layers

merge each one down individually to your tube and background layers


you should now have 4 layers total
add your copyright above your background layer

merge down

now add your text or name or whatever above your background layer

merge down

go to play back to check if it is animating correctly.
if it is go to save as
save as .gif

remember to click on save as an animation!

it will ask you to crop, do so
and then it will ask you how many milliseconds per frame, i went with 300 but it is up to you
and tada! you are done!
would love to see your results for this!
Subscribe to:
Posts
(Atom)